This is just a quick “how I put that together” for my Floss Wrangler Trays.
I now have a video on how I put these together. You can find it here https://youtu.be/zI8IwAfUYrQ or on my Mouse Potato Designs youtube channel.
Basically they are just picture frames that I replaced the glass with a piece of chipboard that I covered with batting that encases a couple layers of foam for my pins to stick into. I don’t have a full “tutorial” on this but really its just take whatever picture frame you want to use, take the glass out of it, take either the backer that came with the picture frame or a piece of chipboard cut to fit and stack several layers of foam on it ( if you are not using pins you can skip this step ) then cover it with batting and stuff it back into the frame. I have a framing points stapler so I used it to hold the whole thing into the frame ( yellow thing in photo below ) but you can just use whatever the picture frame was originally using or even tape to hold it in. 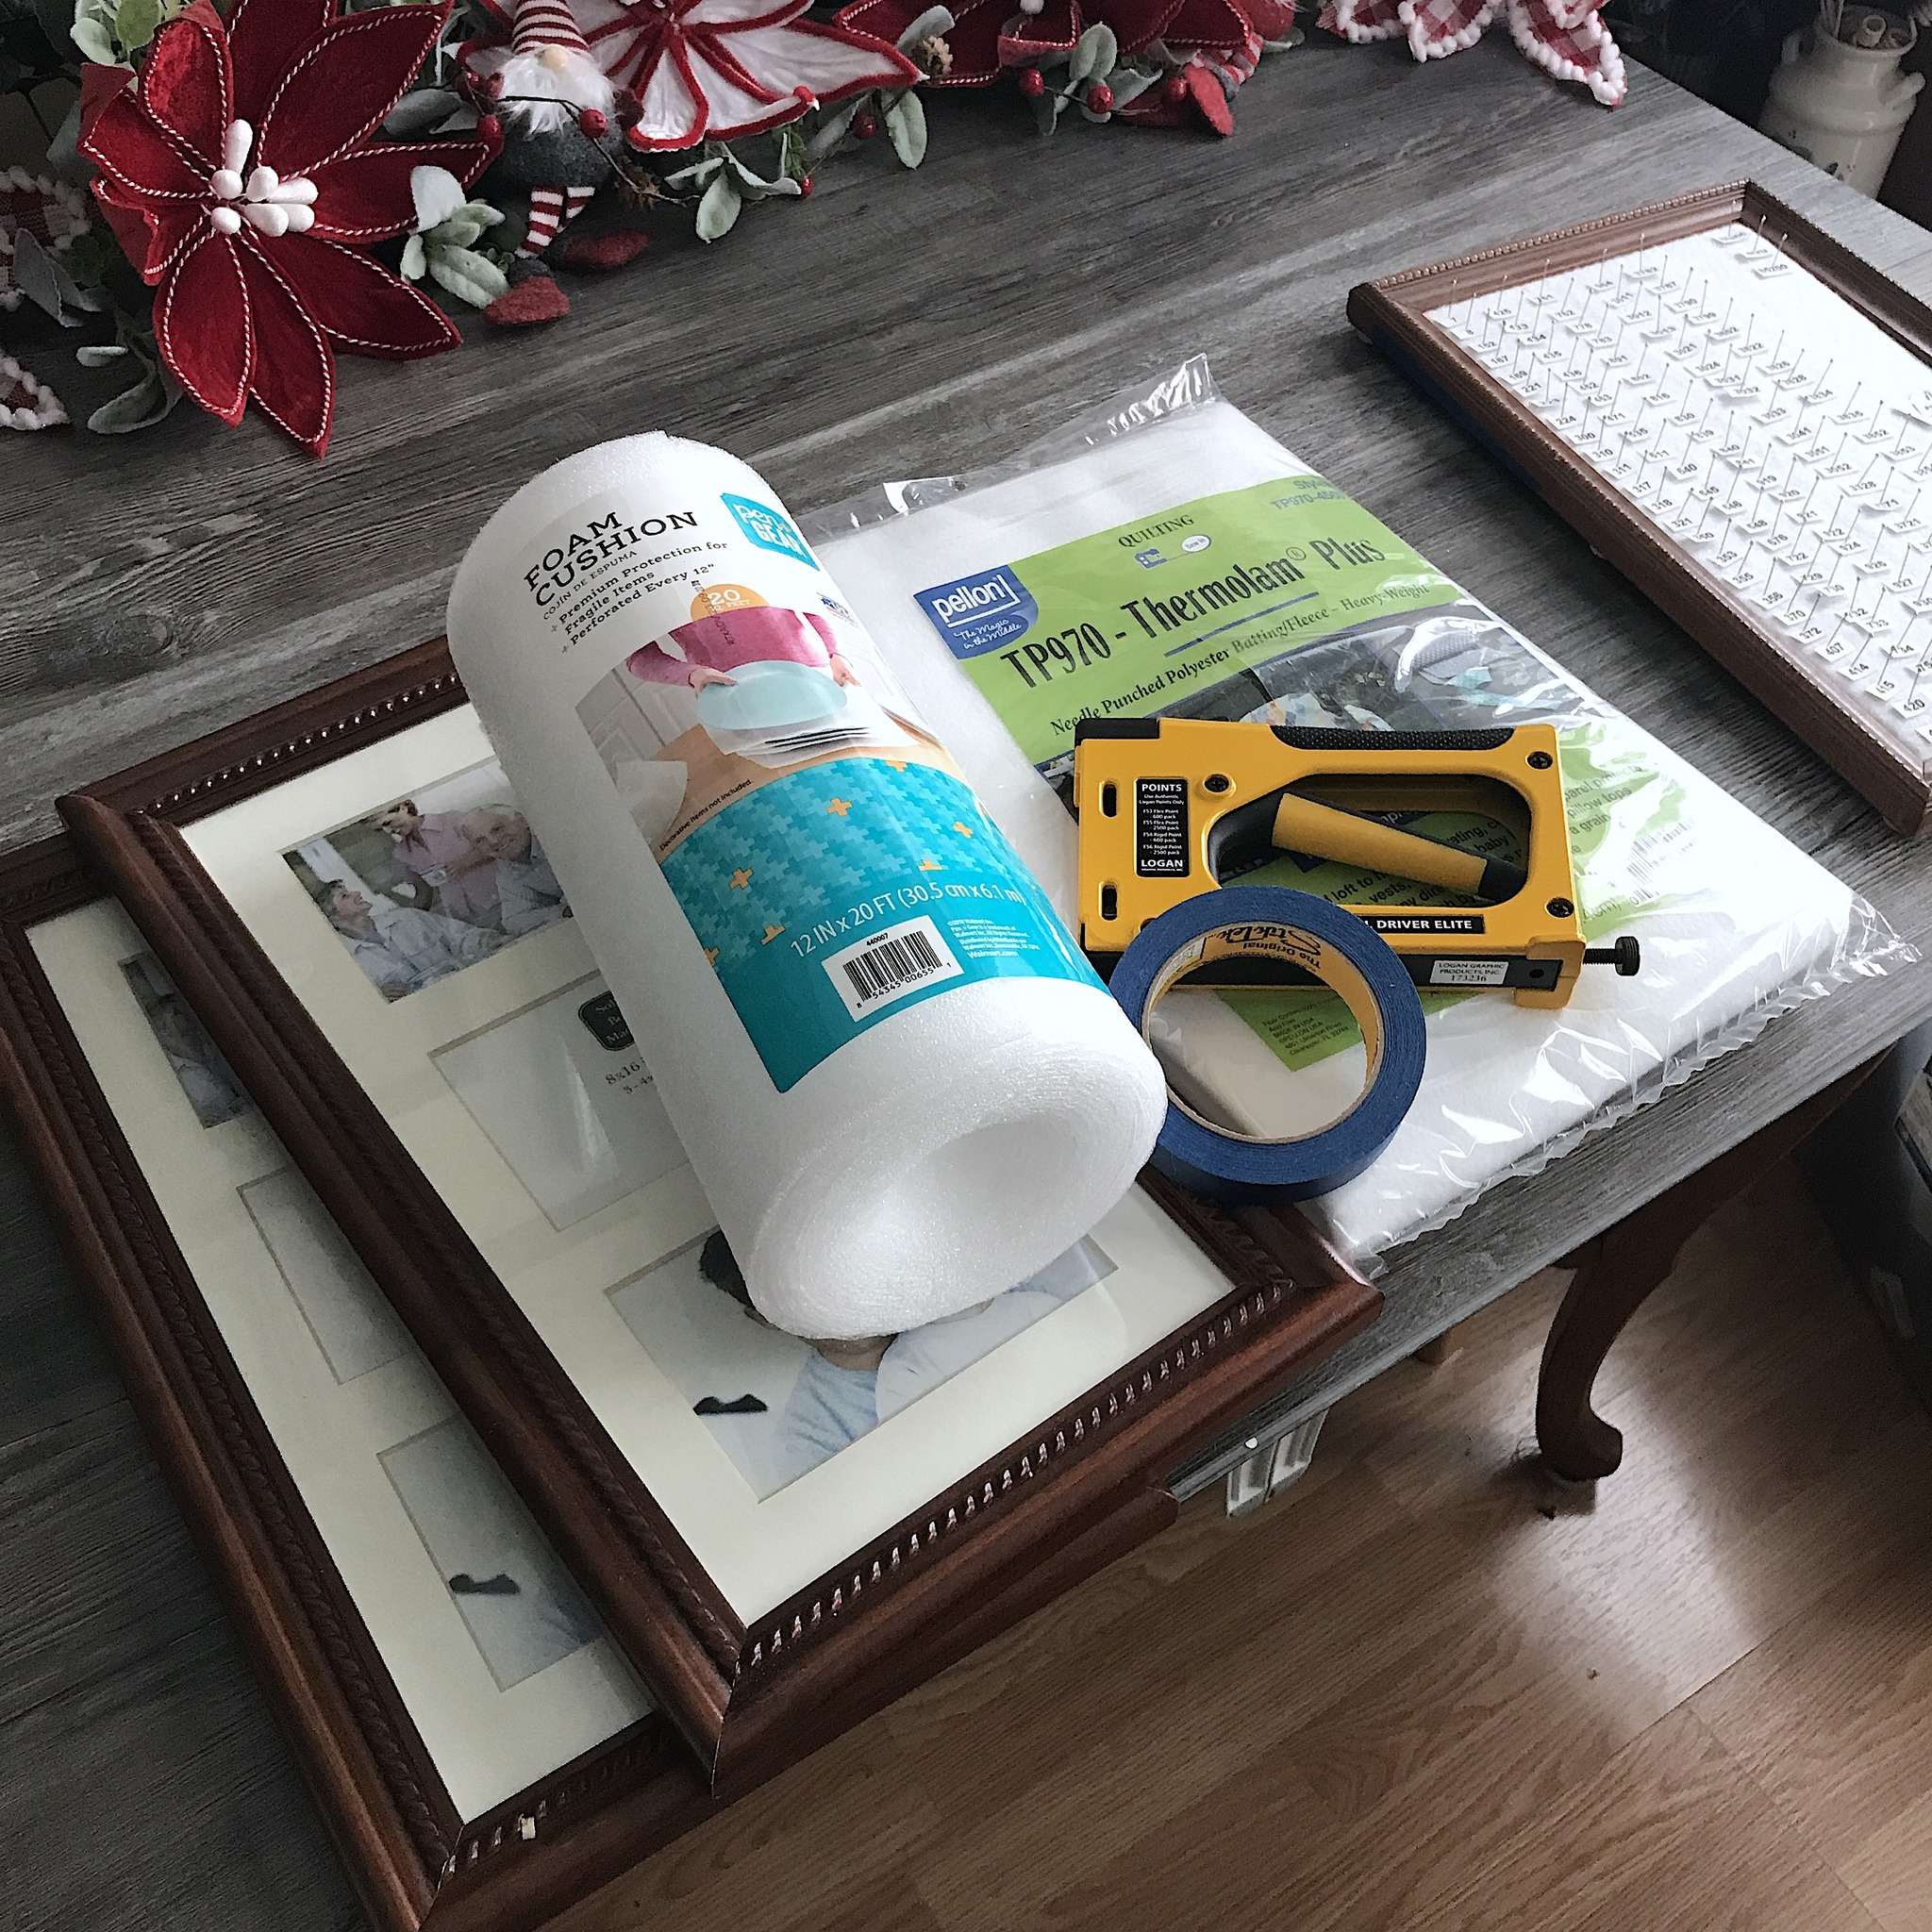

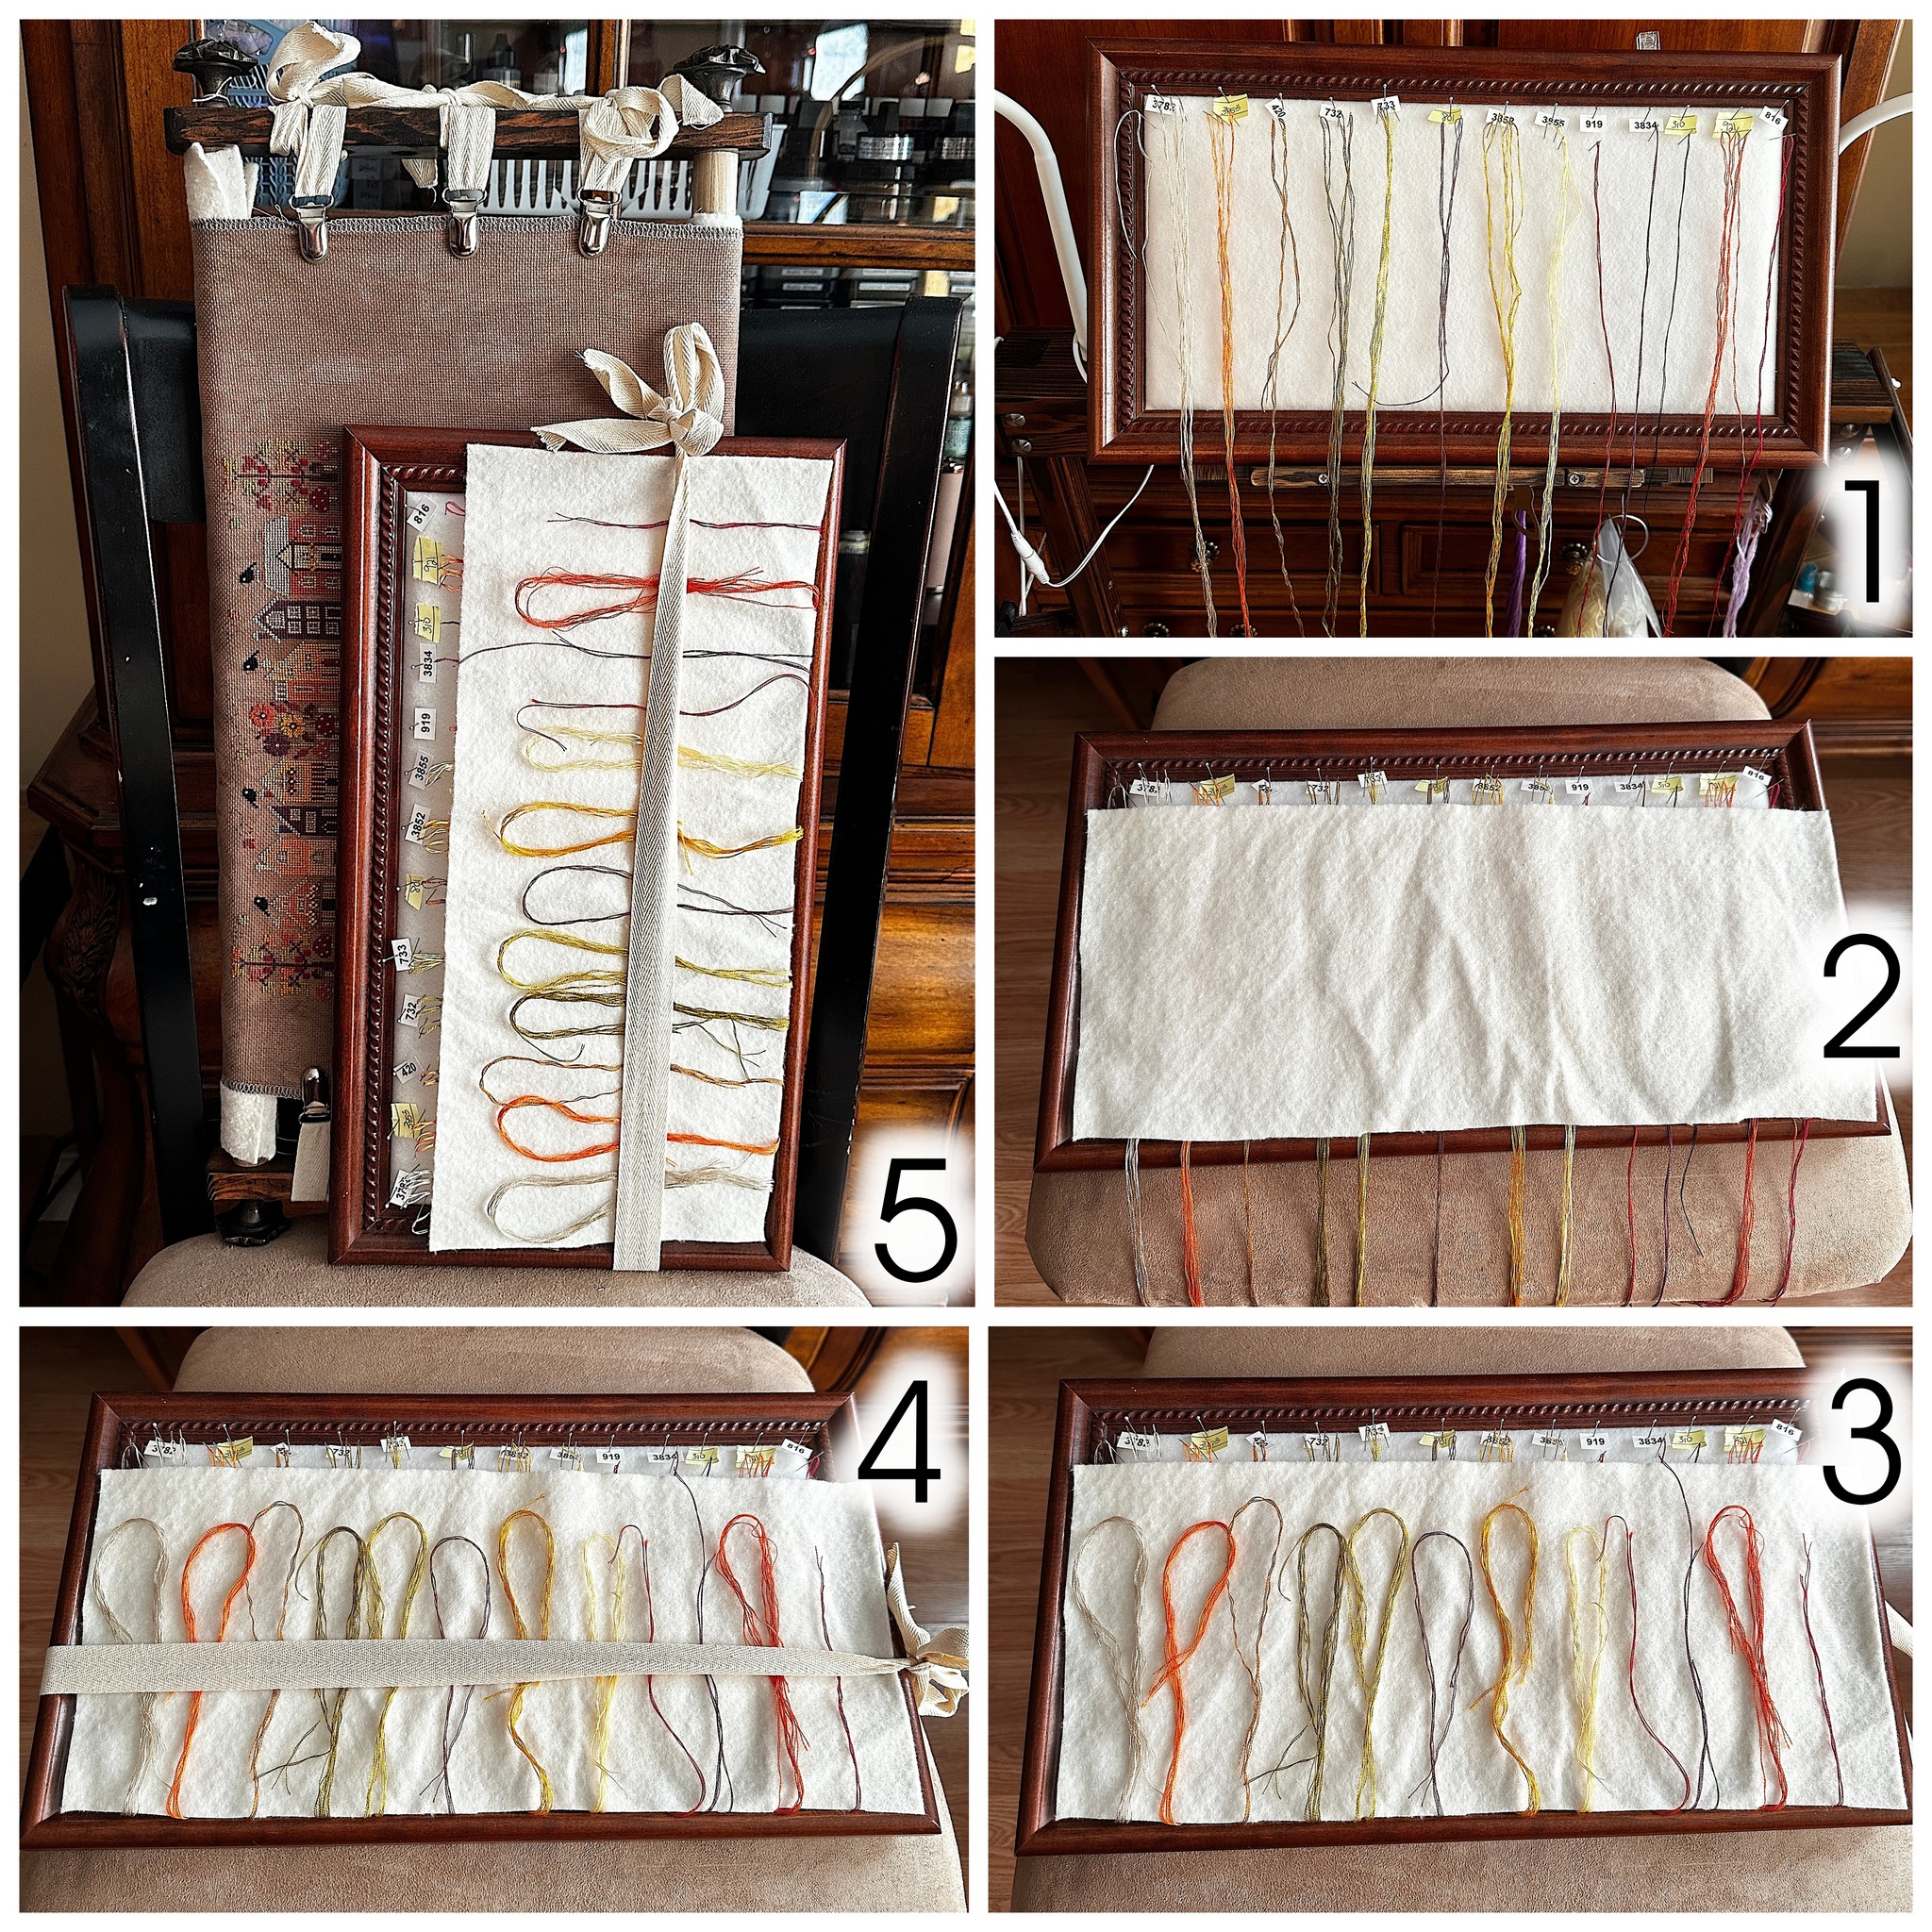
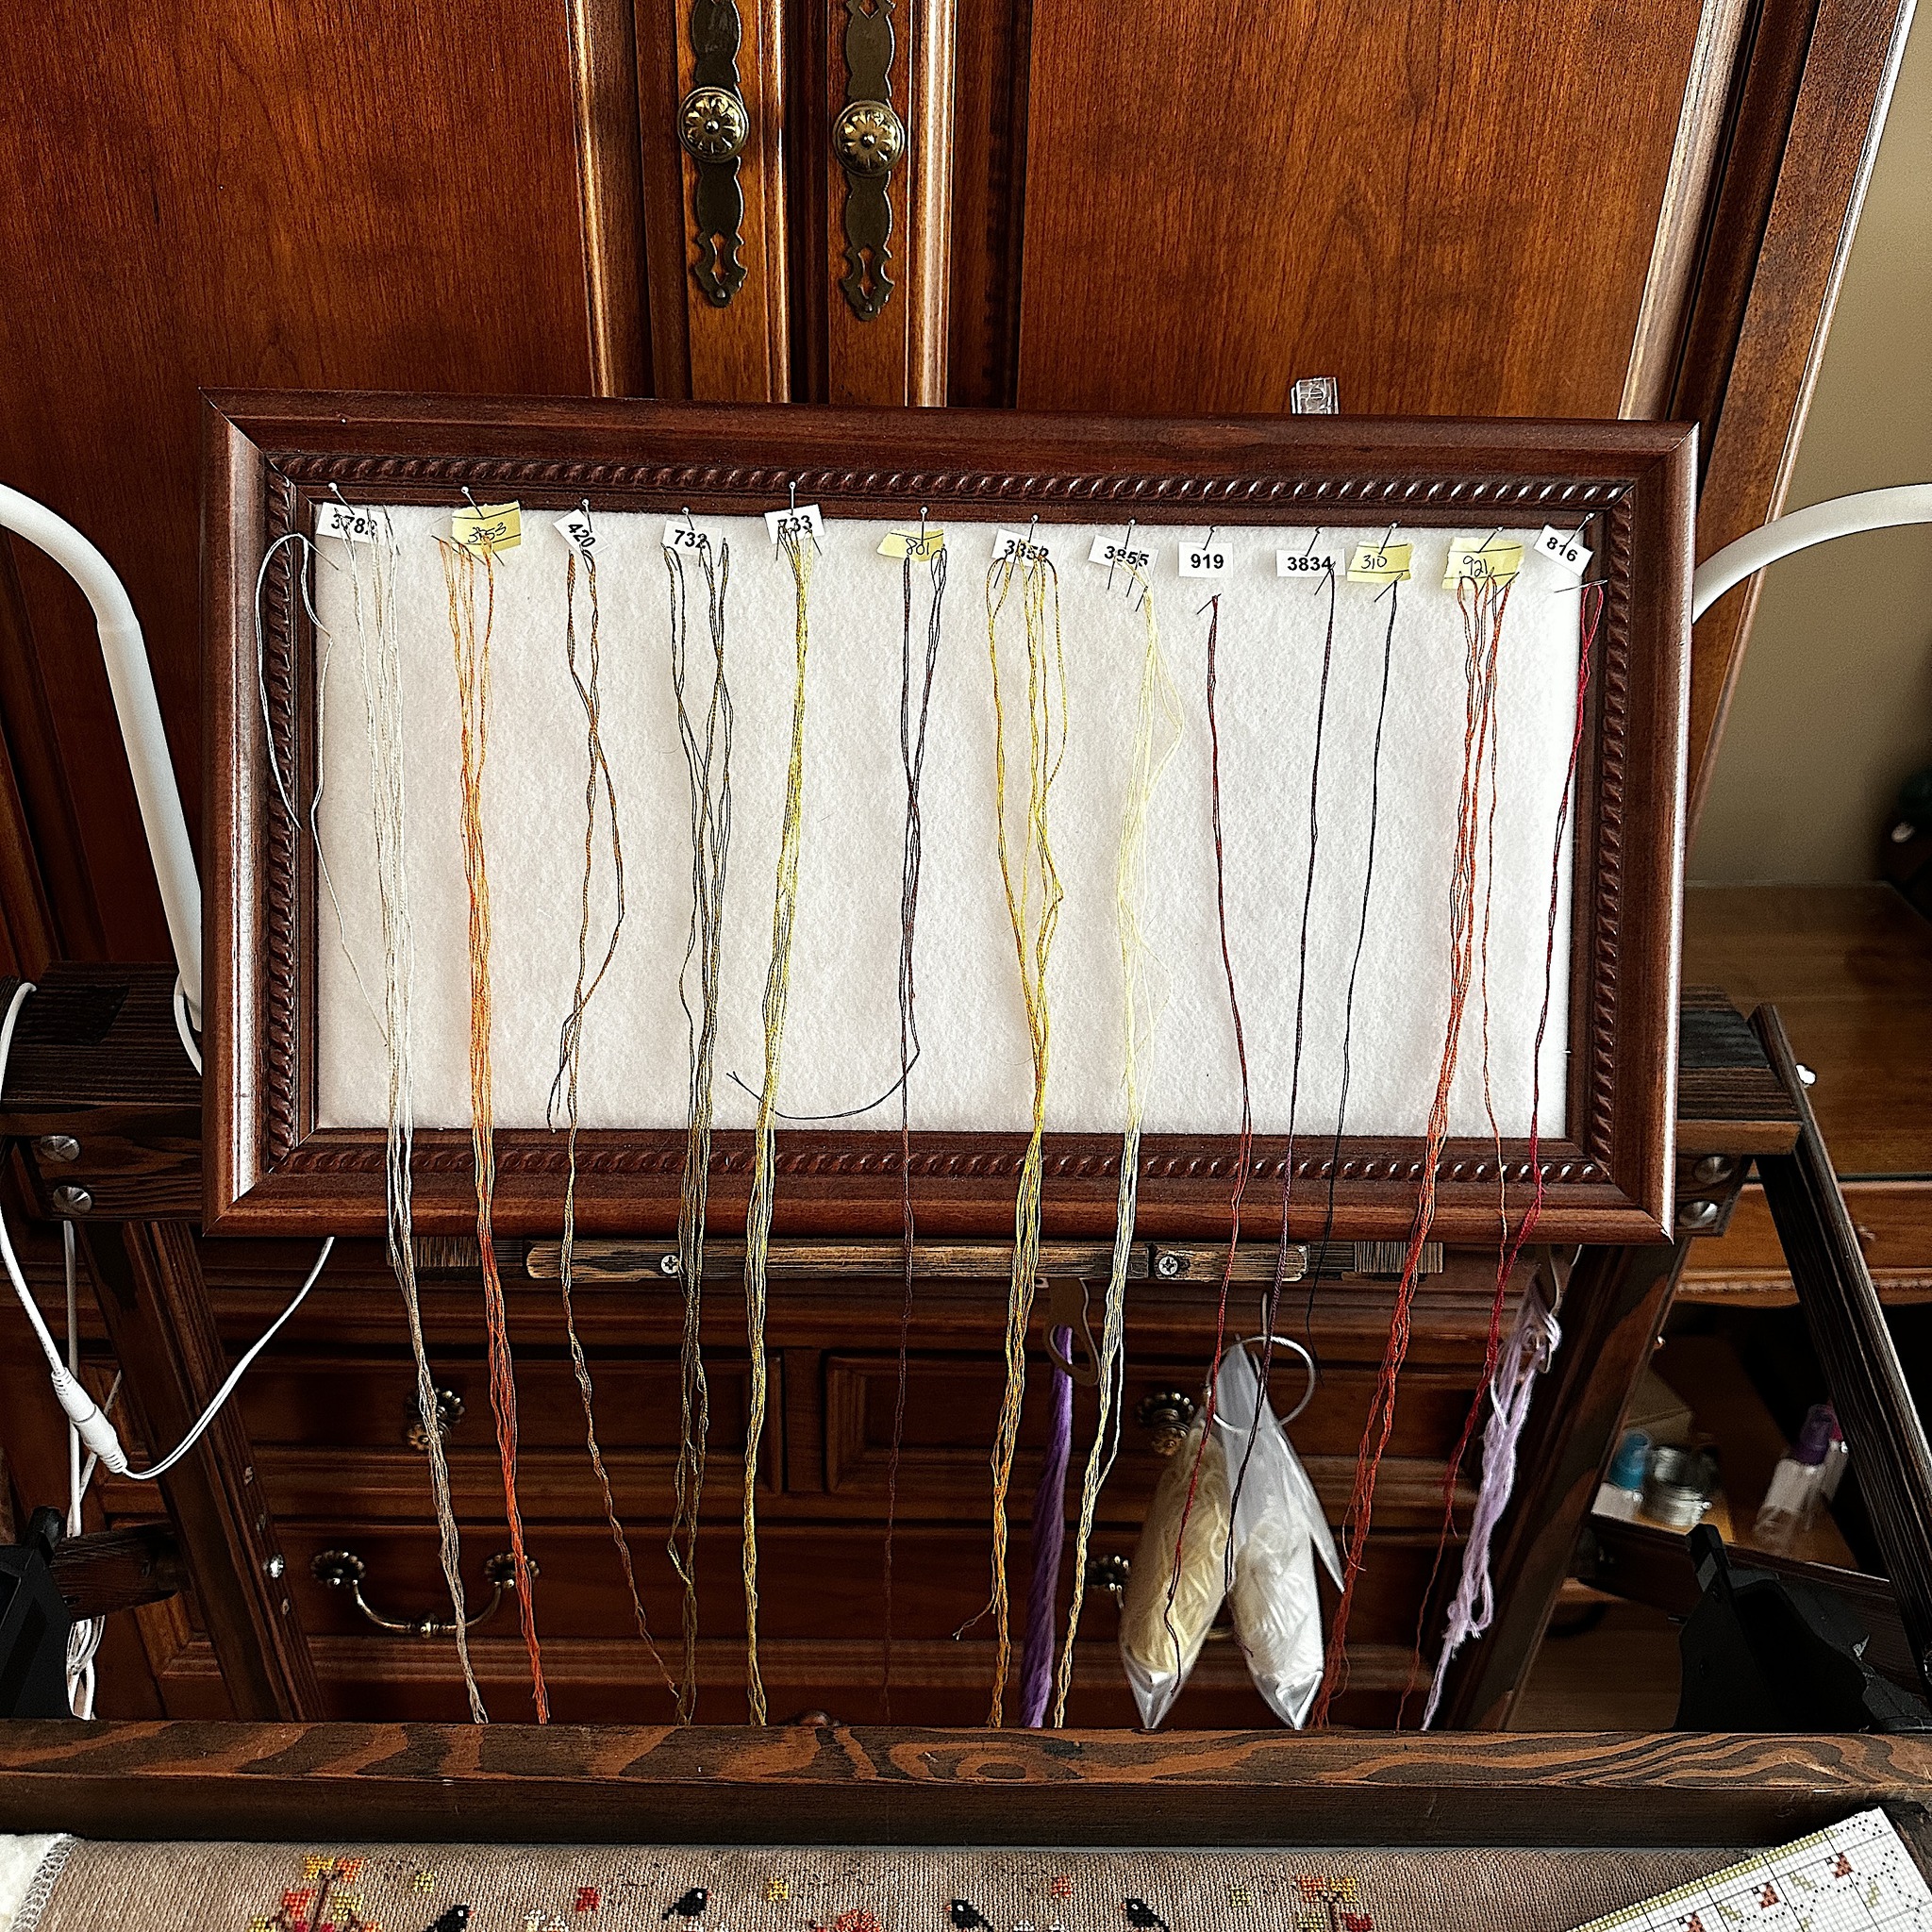
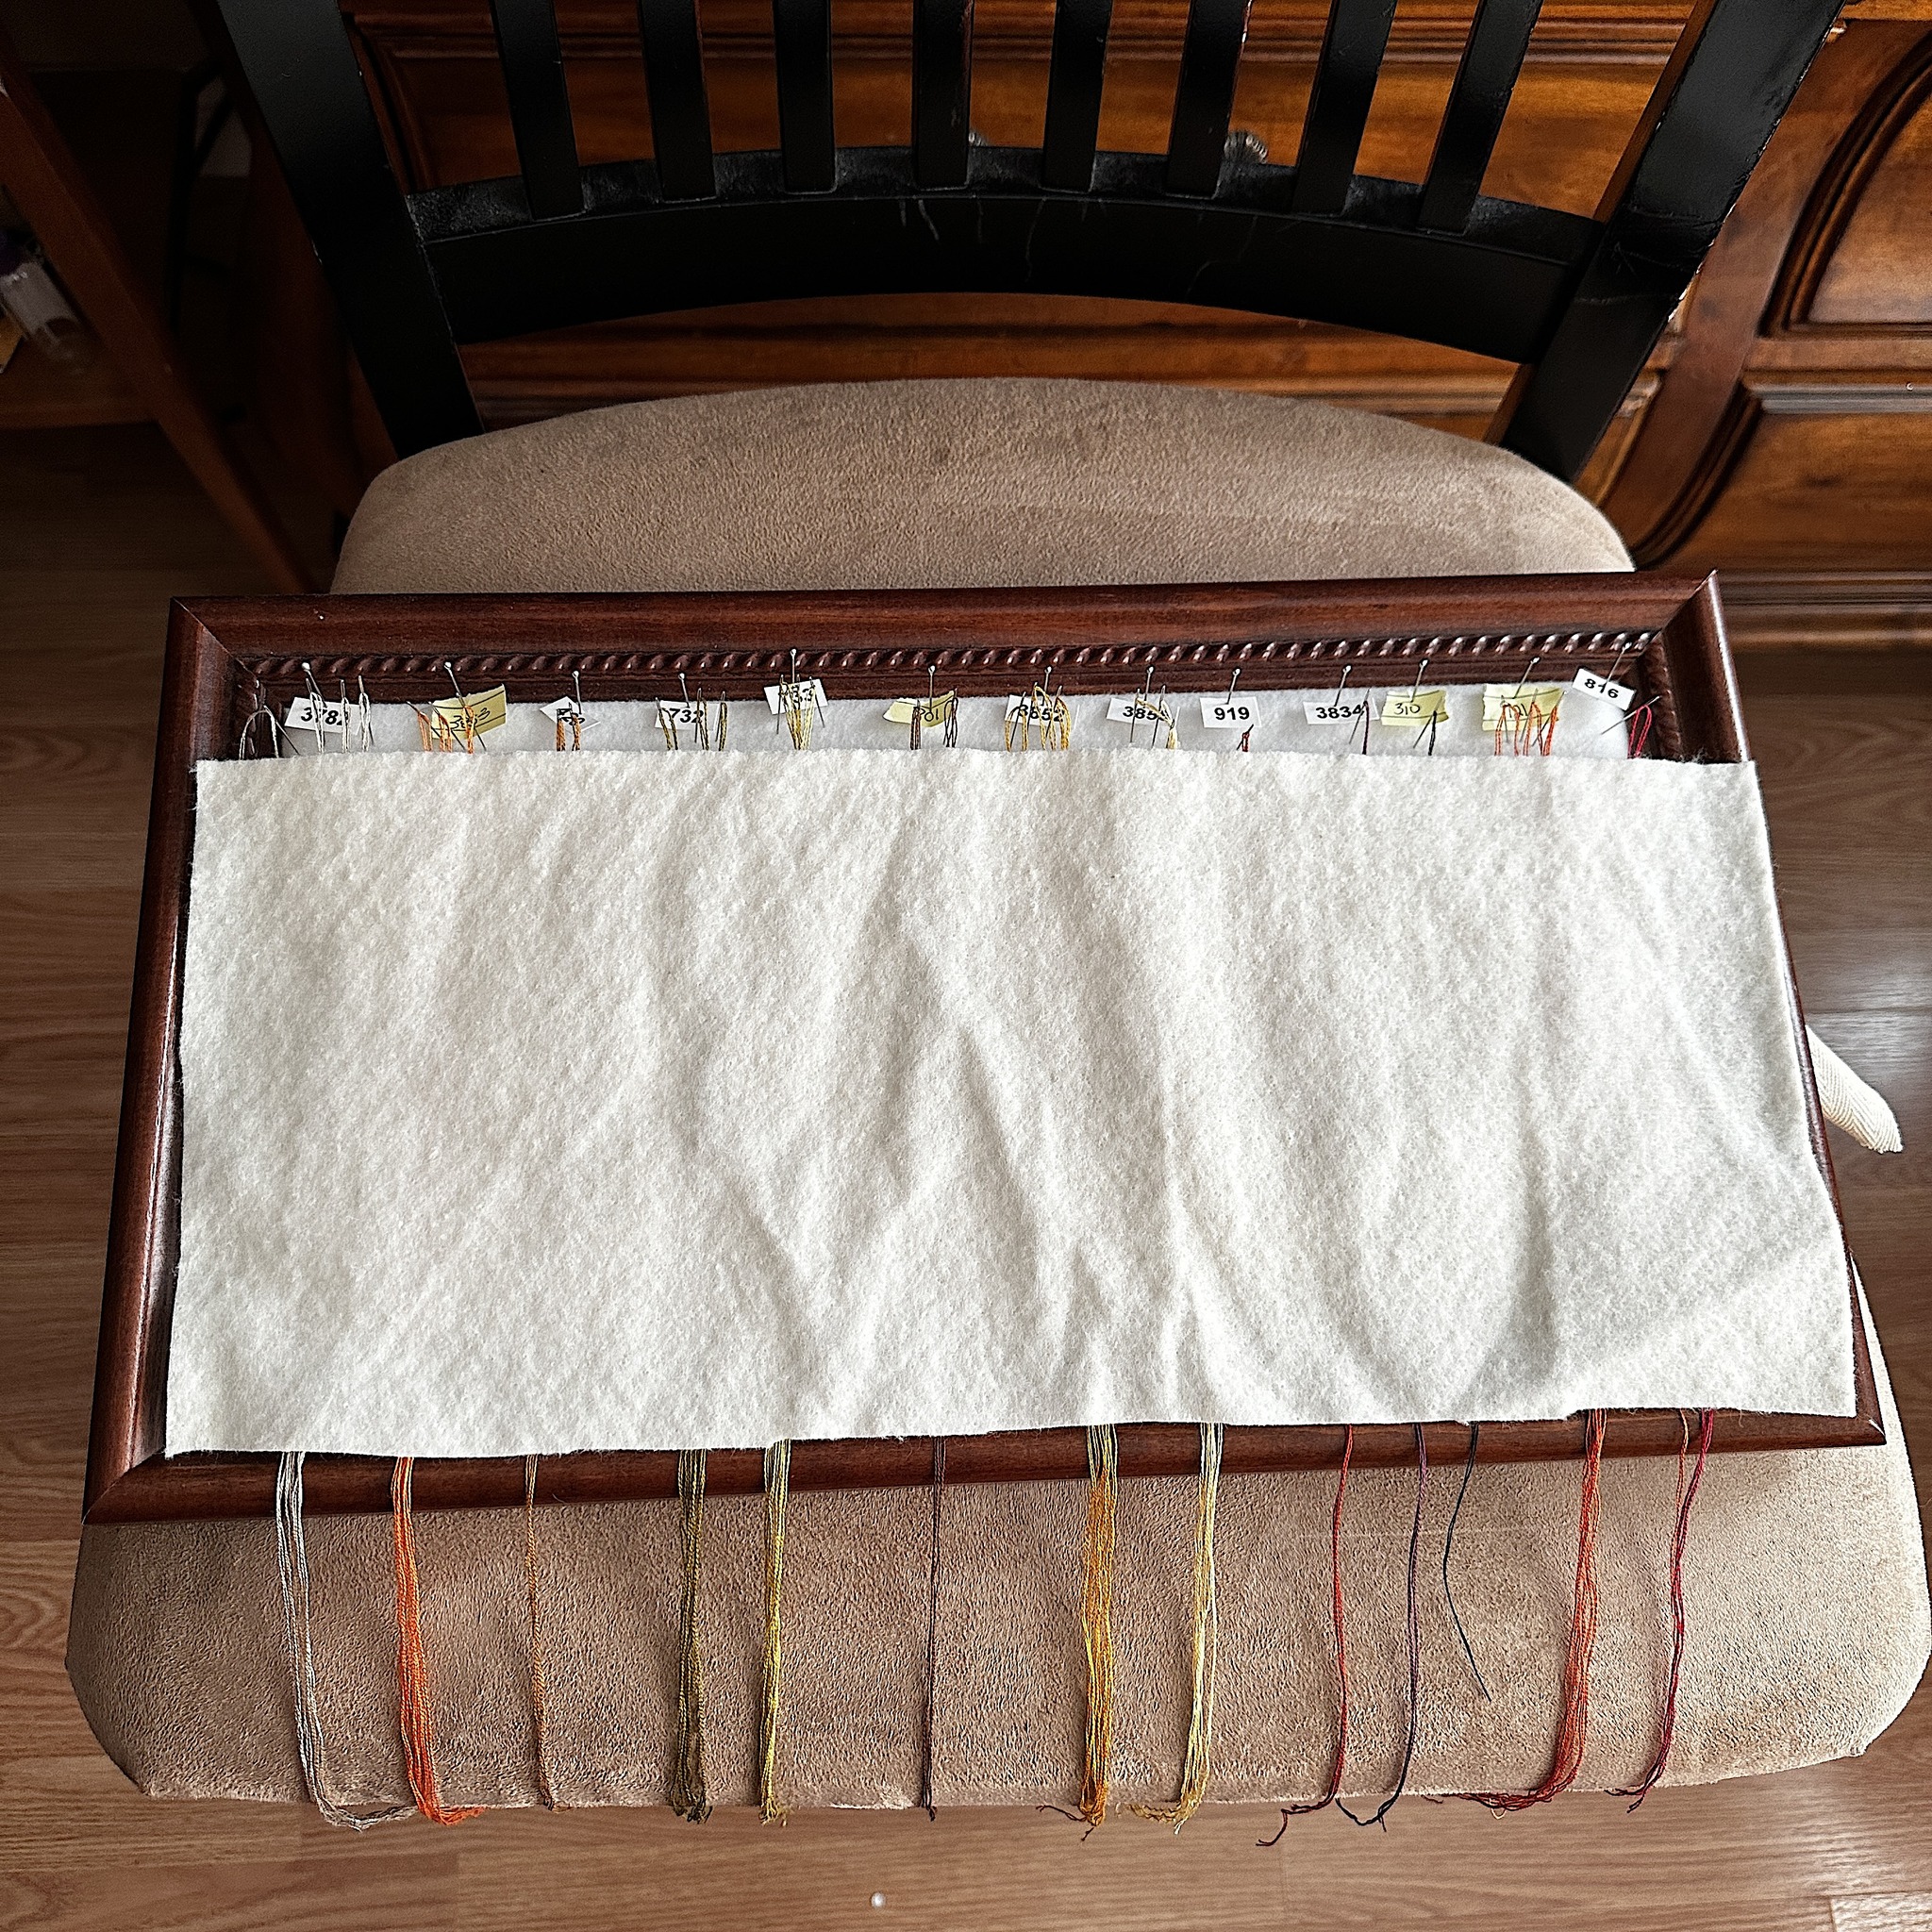
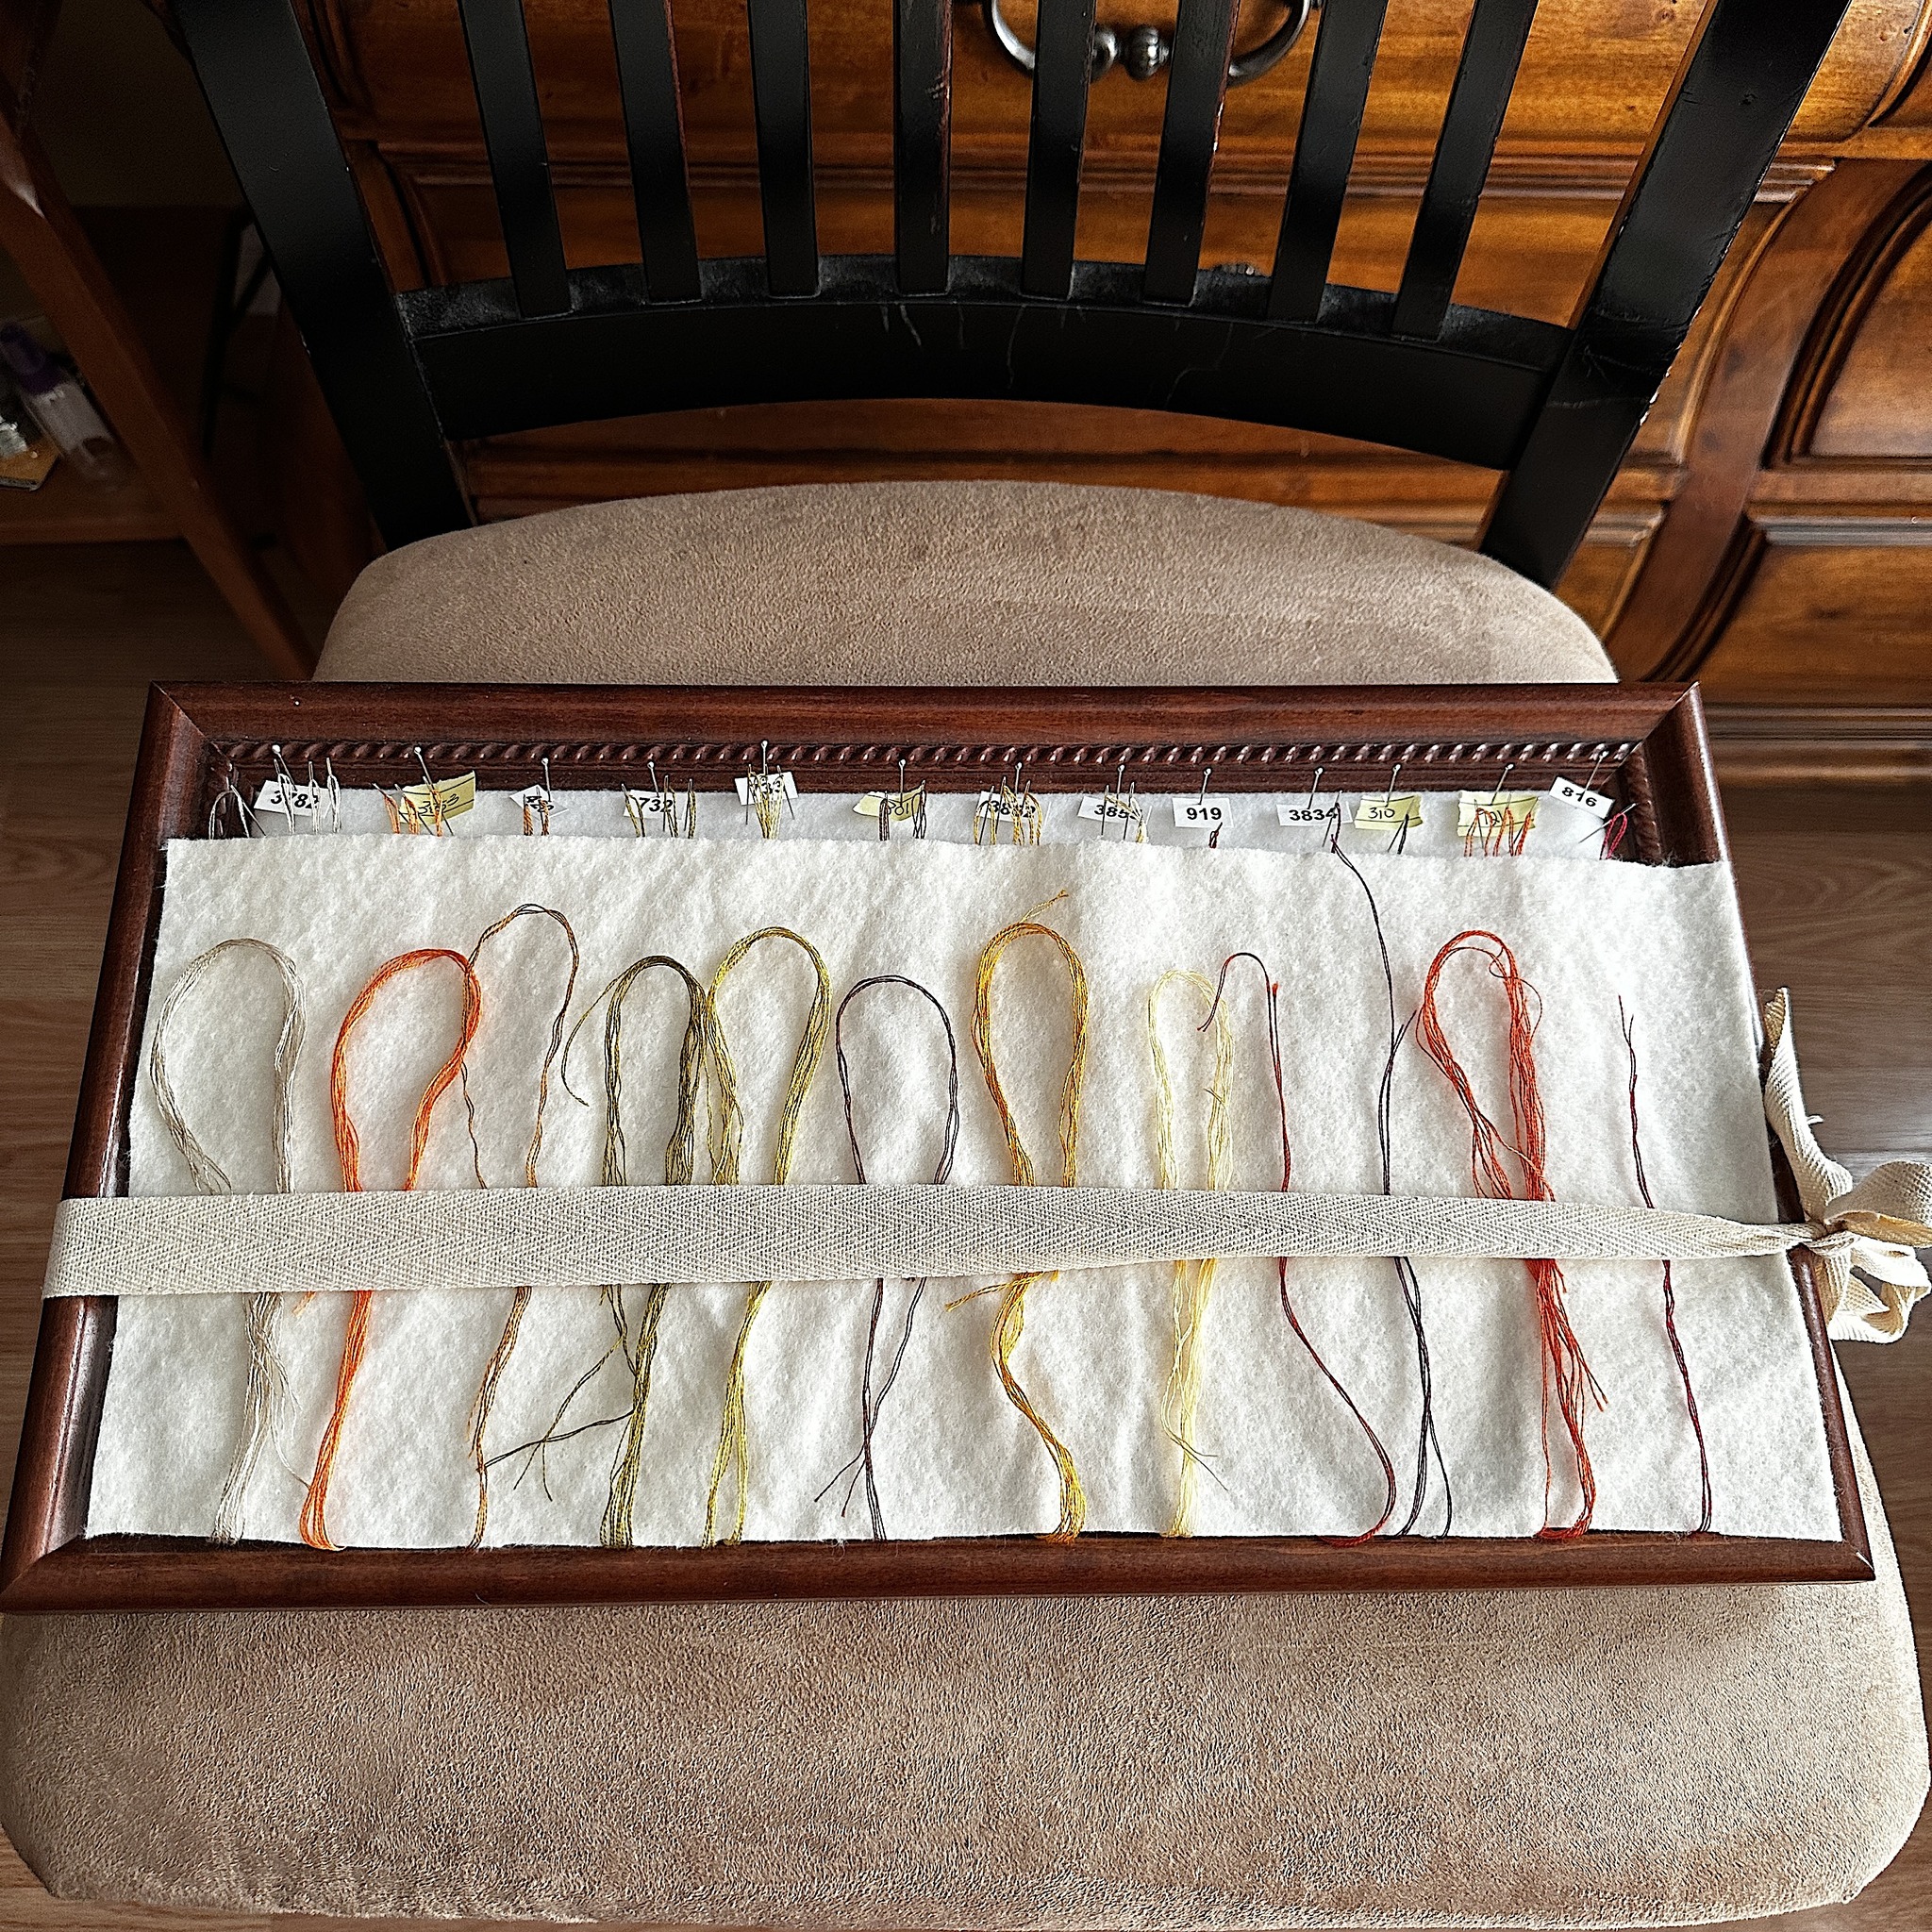
I printed out DMC floss numbers and used pins to hold them onto one of my floss wrangler trays to make a floss specimen tray lol When I am working on a chart I just grab the numbers I need, pin them to a blank floss wrangler tray and then load up my working for on that and I am ready to stitch.

I have an easel that sits on the top of my floor stand that holds my floss wrangler trays in place for me for easy access while I am stitching but you can just set it on the arm of your chair or on the table next to you to easily grab whatever floss you need at the time.
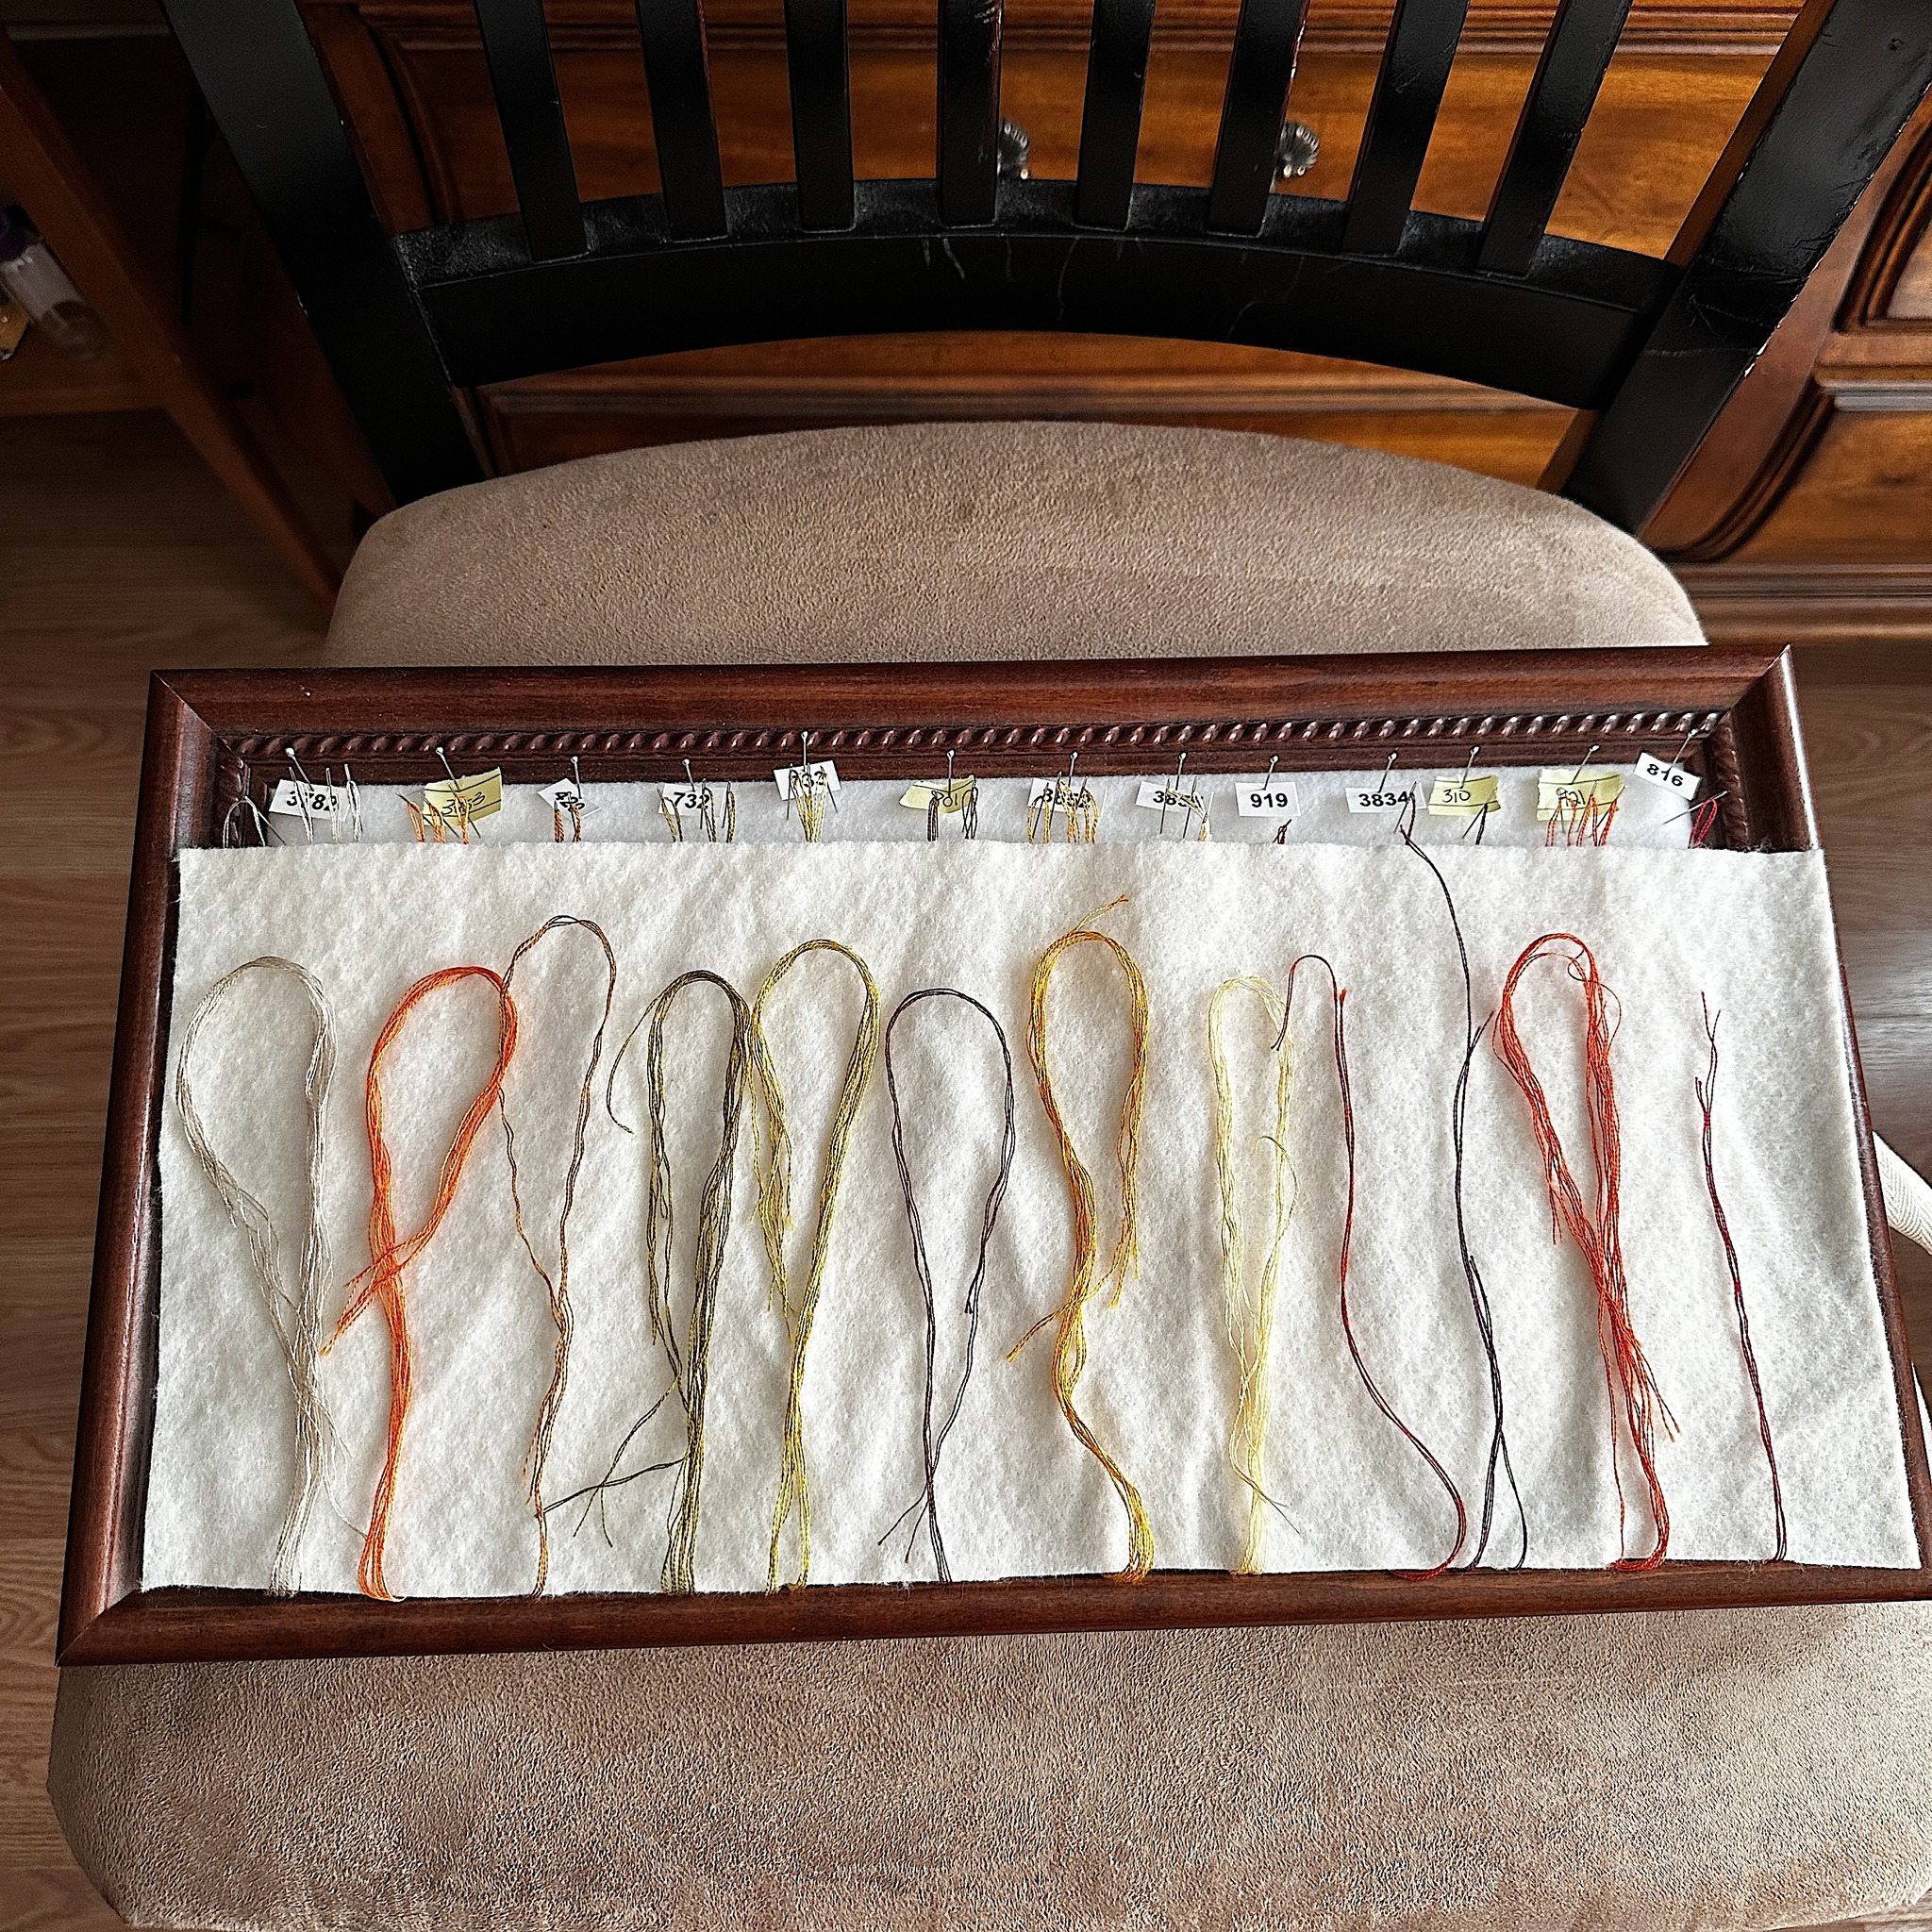
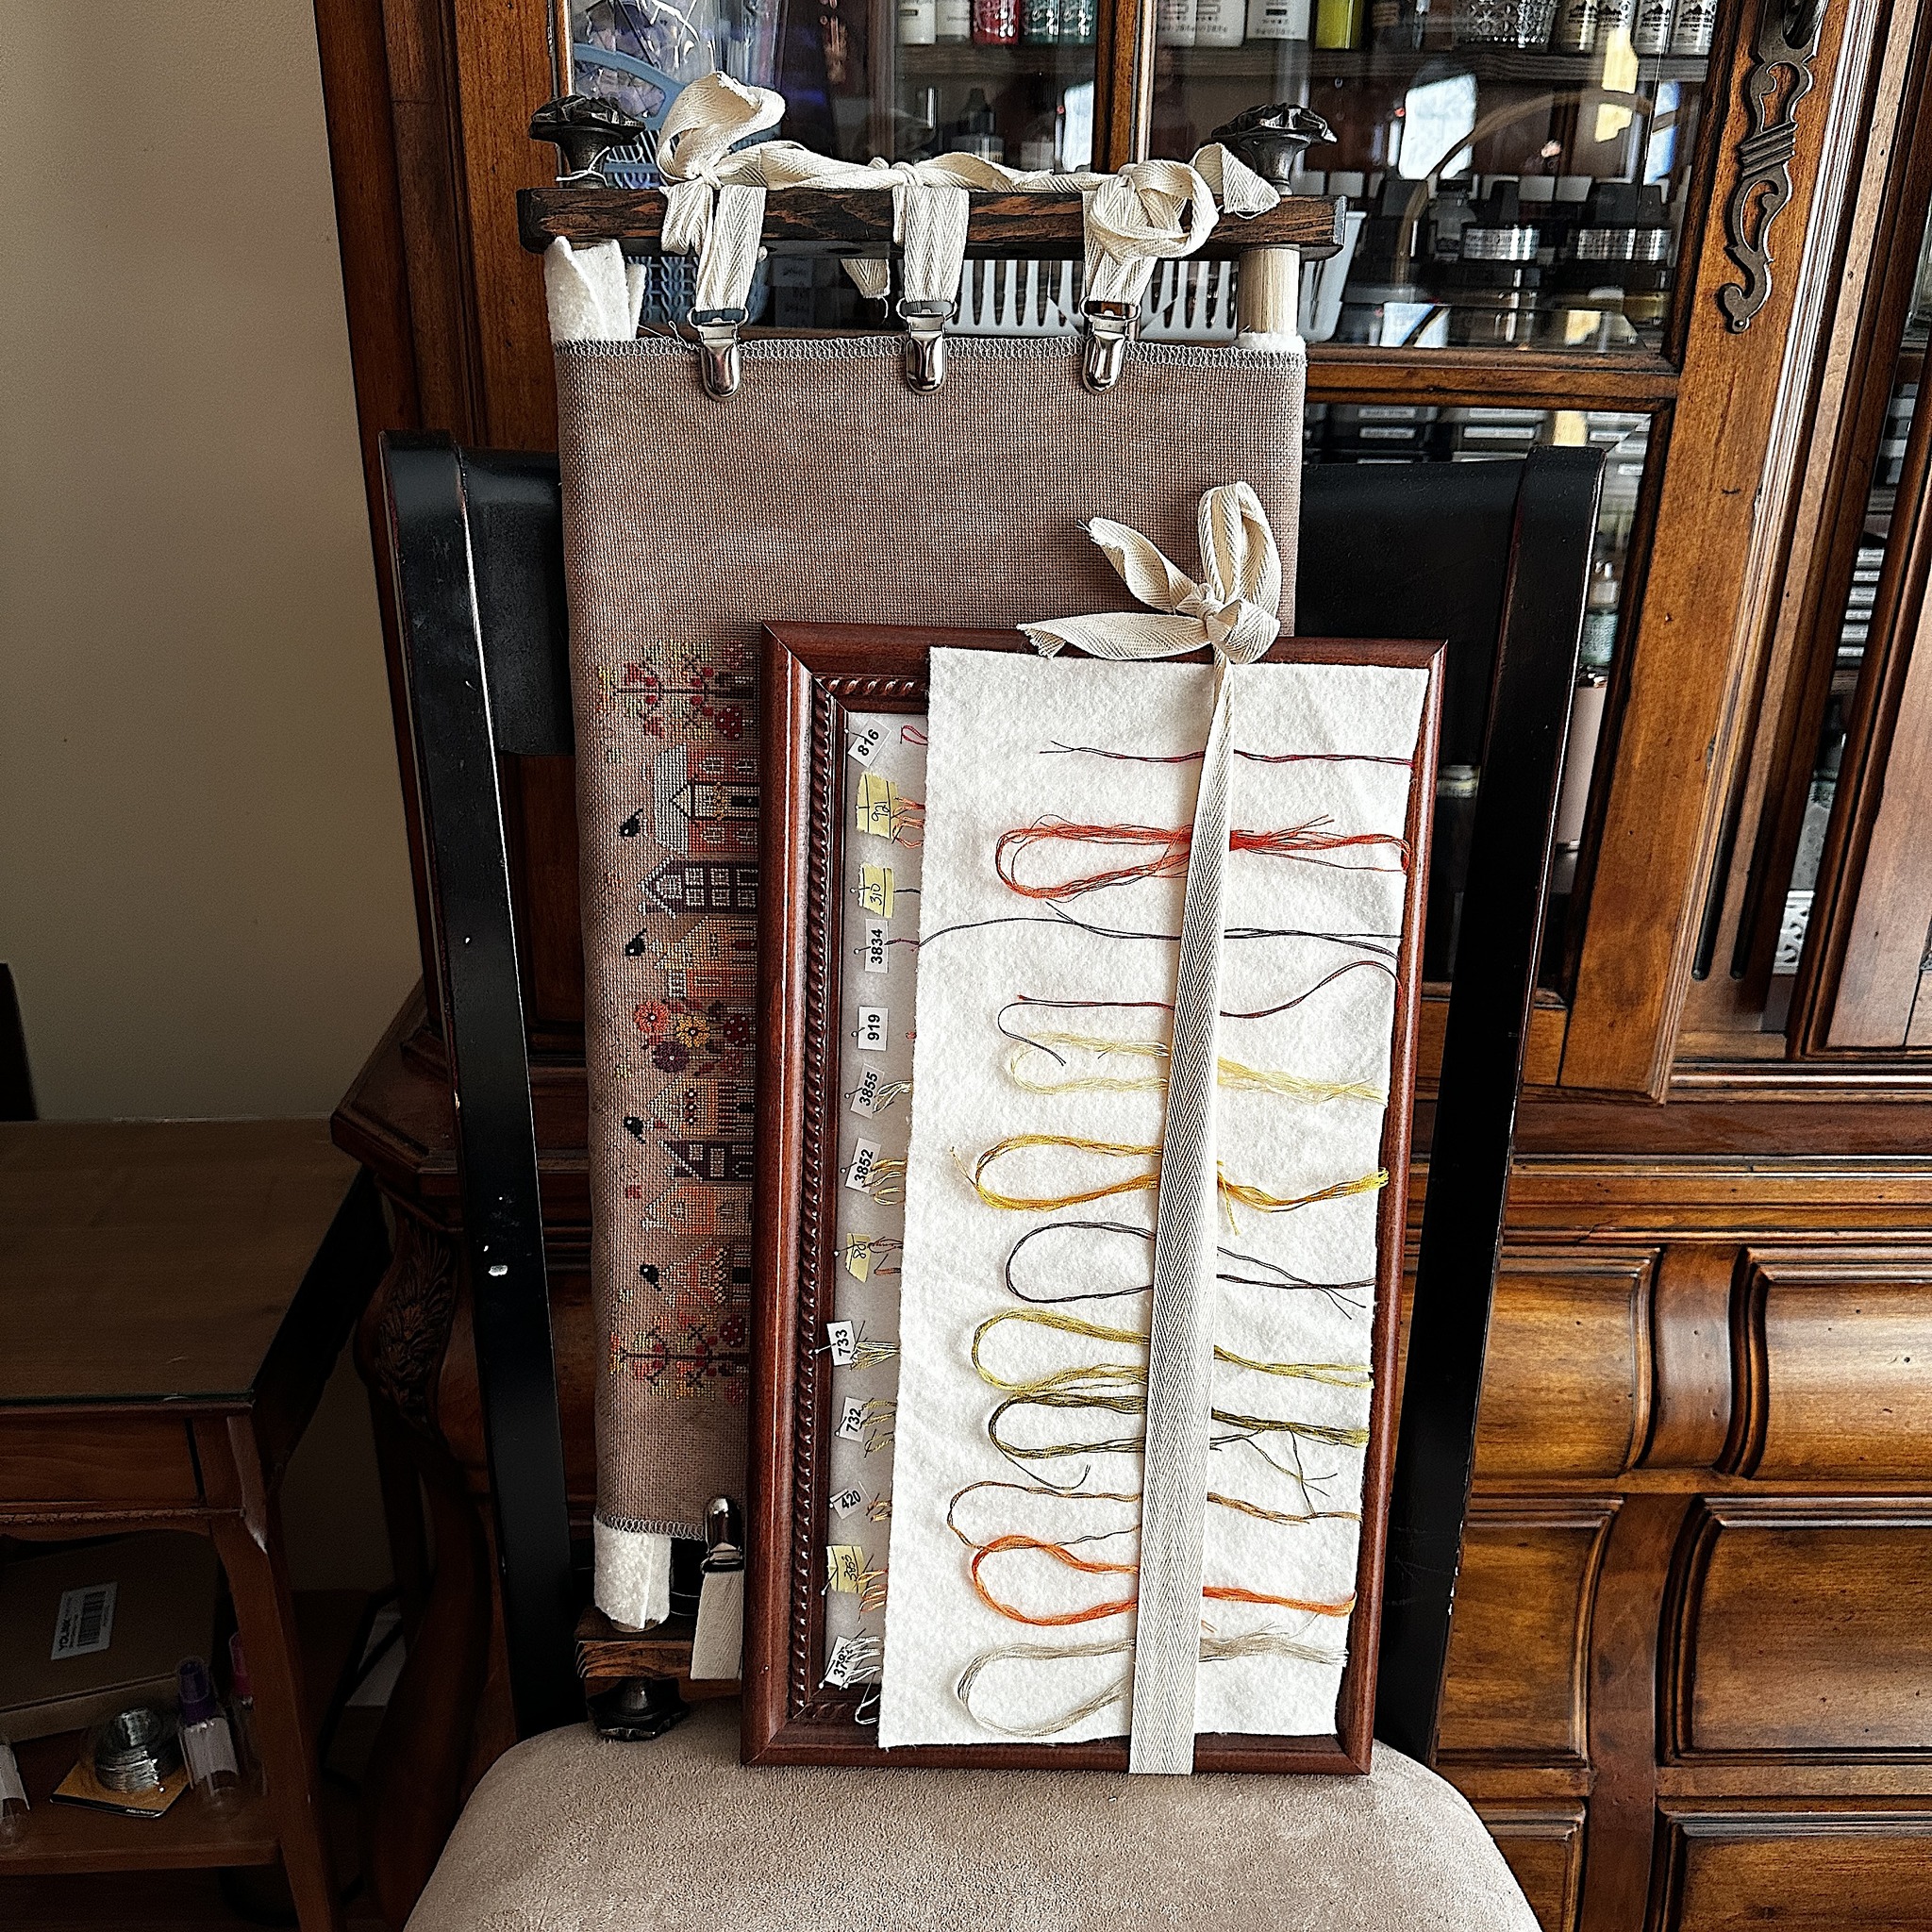
Below is what it looks like when I sit down to stitch and what it looks like when I am done stitching on a project for whatever time I stitched on it LOL

When I get to this point I just take the floss wrangler tray over to my working floss rack and put all the colors back where they belong and then load up for the next project. I have several of these trays so my larger projects I just leave loaded on to their own tray. For the smaller ones I just trade them out when ever I work on something.
Anyways that’s about it on floss wrangler trays, floss specimen trays and my working floss rack. If you have questions just leave a comment.